Tips On How To Get Rid of Oil Stains From Your Leather Goods
Oil stains can quickly diminish the beauty and longevity of your leather goods if not addressed promptly. Since leather is a porous material, oil tends to seep into its fibers, making it critical to act quickly and carefully when cleaning. Below are some professional, step-by-step tips on how to effectively tackle oil stains on leather without causing damage.
When it comes to cleaning oil or grease from leather, time is of the essence. The longer the stain sits, the deeper it penetrates into the leather’s surface, making it harder to remove.
– Avoid rubbing or smearing the oil further into the material.
Leather can vary in texture and treatment (e. g. , finished vs. unfinished), so testing any cleaning agent on an inconspicuous area is crucial. – Use a hidden spot like the underside or an inner seam. – Wait for 10–15 minutes after applying a small amount of product to ensure no discoloration or damage occurs.
Before using any cleaning products, remove as much excess oil as possible:
– This step helps absorb surface-level grease without pushing it further into the material.
– Gently press down with your fingers to ensure contact with all areas of the stain. – Leave it on for several hours (ideally overnight). – Brush off using a soft-bristled brush or microfiber cloth.
| Powder | Effectiveness | Application Tip |
| Cornstarch | High | Ideal for fresh stains; leave overnight |
| Baking Soda | Moderate | Better for light stains; reapply if needed |
– Wipe away any residue with another damp cloth and allow it to air dry completely.
When DIY efforts fail, don’t hesitate to consult a professional cleaner: – Persistent stains that resist treatment may require specialized tools and expertise. – Professionals also ensure that no additional damage occurs during deeper cleaning processes.
Summary Checklist
Here’s a quick reference guide:
✅ Act fast—blot excess oil immediately.
✅ Always test cleaning methods on an inconspicuous spot first.
✅ Opt for mild cleaners that won’t harm leather surfaces.
✅ Reach out to professionals if necessary.
By following these tips carefully, you can preserve both the functionality and appearance of your cherished leather items while extending their lifespan significantly.
What Happens When Oil Stains Remain on Leather
When oil stains are left untreated on leather, they can cause significant and often irreversible damage. Leather is a porous material, which means it absorbs oils quickly. Once absorbed, the oil seeps into the fibers, leading to discoloration, weakening of the material, and an overall decrease in the leather’s longevity.
The Effects of Oil Stains on Leather
- Discoloration: Oil stains typically leave dark patches on light-colored leather and fade darker leathers in an uneven manner.
- Loss of Strength: The breakdown of natural fibers due to prolonged exposure to oil weakens the structural integrity of leather.
- Sticky Residue: Over time, trapped oil may create a sticky or tacky surface, attracting dirt and other debris.
- Cracking or Brittleness: If untreated for long periods, oil can dry out the leather’s natural oils and moisture balance, causing cracks or brittleness.
Why Oil Stains Are Harder to Remove Over Time
Leather naturally contains oils that help maintain its suppleness. When external oils from food grease, body oils, or spills mix with these natural oils, they penetrate deeper into the leather over time. This makes it increasingly difficult to remove using standard cleaning techniques.
- The longer an oil stain sits on leather without treatment, the more it integrates into its fibers.
- Heat exposure (e. g. , sunlight) can “bake” the stain further into the material.
Secondary Damage from Prolonged Oil Stains
| Type of Damage | Impact on Leather Goods |
| Loss of elasticity | Leather items like gloves or bags lose their flexibility |
| Permanent discoloration | Irreversible color change regardless of future treatments |
| Surface cracking | Leads to peeling in severe cases |
Key Takeaway: Act Quickly
Prompt action is essential when dealing with grease or oil stains on leather. Using appropriate cleaning methods early can minimize damage and maintain your item’s look and feel. Prevention tactics—such as regular maintenance and protective coatings—can also help reduce long-term risks associated with accidental spills.
How To Use Saddle Soap to Clean Up Oil Spills On Leather
Saddle soap is a trusted and versatile product designed specifically for cleaning and maintaining leather goods. When used correctly, saddle soap can help remove oil stains from leather effectively without causing damage to the material. Follow the steps below to safely clean your leather items with saddle soap.
Why Use Saddle Soap?
Saddle soap works by gently cleaning and restoring the natural oils in leather. It not only removes dirt and grease but also conditions the material, preventing cracks and further damage. Using it properly ensures your leather item retains its appearance and durability.
Steps for Cleaning Oil Stains with Saddle Soap
Before diving into the cleaning process, ensure you gather all necessary supplies.
- Saddle soap (choose one suitable for your type of leather).
- A soft, clean cloth or sponge.
- A bowl of lukewarm water.
- A second clean cloth for drying.
- Test on a Small Area:
Always test the saddle soap on an inconspicuous area of your leather item first to ensure it doesn’t discolor or damage the material. - Remove Excess Oil:
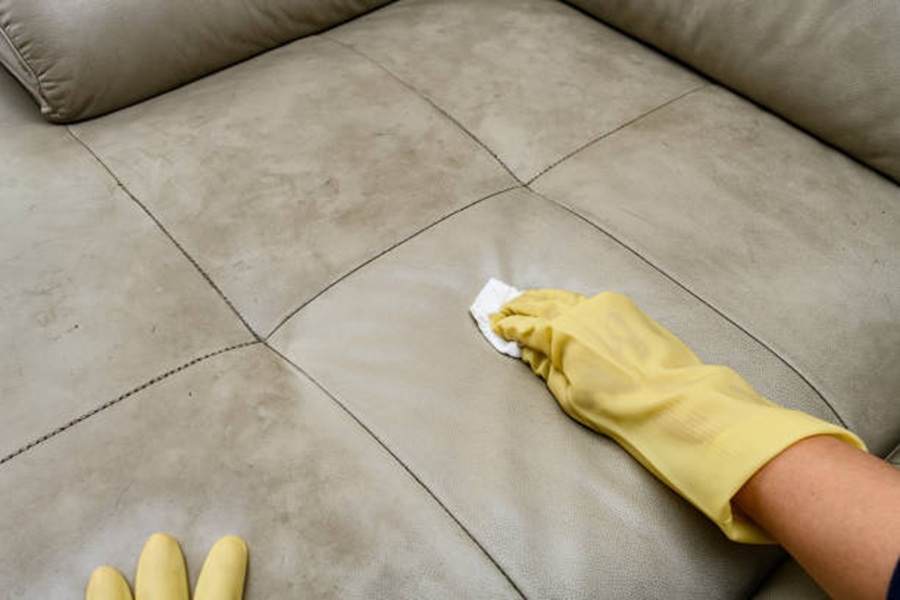
If there’s still fresh oil lingering on the surface: - Blot gently with a dry paper towel or cloth.
- Avoid rubbing as it may spread the stain further into the fibers.
- Dampen a soft cloth or sponge with lukewarm water.
- Rub it lightly onto the saddle soap until you create a small amount of lather.
- Apply this lather to the affected area using gentle, circular motions.
- Work Gently on Stains:
Focus only on the stained portion rather than scrubbing unnecessarily across unaffected areas of your leather item. - Wipe Off Residue:
After treating the stain: - Take another soft, damp cloth and wipe away any remaining soap residue.
- Ensure no soapy film remains as this could harm the leather over time.
- Let It Dry Naturally:
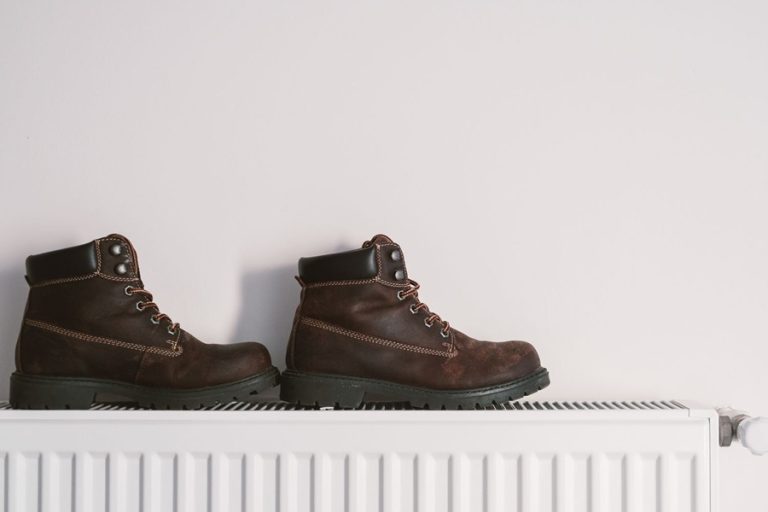
Allow the leather to air-dry naturally at room temperature. Avoid exposing it directly to heat sources like hairdryers, radiators, or sunlight as these can dry out and crack leather. - Condition Your Leather:
Once completely dry, apply a quality leather conditioner to restore moisture and maintain its flexibility. Conditioning is especially important after using saddle soap because some natural oils in your leather may have been removed during cleaning.
Additional Tips When Using Saddle Soap
- Use Sparingly: Overuse of saddle soap can oversaturate your item, leading to discoloration or unwanted softness in certain areas.
- Avoid Abrasive Tools: Never use brushes with hard bristles that might scratch delicate leathers.
- Keep It Routine but Limited: While saddle soap is excellent for occasional deep cleaning, avoid making it part of your daily care routine—doing so may wear down protective finishes over time.
| Do’s | Don’ts |
| Test on an inconspicuous area | Skip spot-testing |
| Use lukewarm water | Use hot water |
| Blot excess oil gently | Rub aggressively |
By following these steps carefully, you’ll be able to tackle oil stains while preserving both aesthetics and functionality of your cherished leather items
How To Use Saddle Soap to Clean Up Oil Spills On Leather
Saddle soap is a widely trusted product for cleaning and maintaining leather, especially when it comes to removing oil spills or grease stains. Its unique formulation can clean, condition, and protect the leather all at once. Proper use of saddle soap not only removes oil stains but also helps preserve the leather’s natural luster and durability.
Step-by-Step Guide to Using Saddle Soap
- Saddle soap (available at most leather care or hardware stores)
- A soft, lint-free cloth or sponge
- Lukewarm water
- A separate cloth for drying
- Leather conditioner (optional, but recommended for post-cleaning)
- Before applying saddle soap directly to the stain, test it on an inconspicuous area of the leather. This ensures there’s no discoloration or adverse reaction.
- Slightly dampen your soft cloth or sponge with lukewarm water.
- Rub it gently over the surface of the saddle soap until it forms a light lather.
- Focus on blending rather than scrubbing aggressively. Excessive force can damage or discolor delicate leather.
- Take another clean cloth slightly dampened with water and wipe away any remaining lather from the surface.
- Avoid saturating the leather with water as this can cause further damage.
- Use a dry, lint-free cloth to pat down any residual moisture.
- Let your leather item air-dry naturally in a well-ventilated space away from direct sunlight or heat sources like radiators, which may dry out and crack the material.
- To replenish moisture lost during cleaning and maintain flexibility, apply a high-quality leather conditioner once completely dry.
Tips When Using Saddle Soap
- Avoid overusing saddle soap as excessive cleaning can strip natural oils from your leather.
- Always follow manufacturer instructions specific to your saddle soap brand since formulations may vary slightly.
- For particularly stubborn stains that don’t respond well to saddle soap alone, consult a professional cleaner who specializes in treating leather goods.
Limitations of Saddle Soap
While saddle soap is effective for many types of stains and general cleaning purposes, it’s not suitable for every situation: – It may not be effective on deeply set-in oil stains that have already been absorbed into untreated leather. – Certain exotic leathers or dyed finishes can react poorly; always double-check compatibility first.
| Scenario | Recommended Action |
| Light surface oil stain | Proceed with saddle soap treatment |
| Deep-set oil stain | Seek professional cleaning assistance |
| Delicate suede material | Avoid using saddle soap; opt for suede-specific cleaners |
Saddle soap remains one of the simplest yet most reliable tools for tackling fresh oil spills on traditional finished leathers while also providing added care benefits like conditioning and softening when used properly.
Things to Avoid When Cleaning Up Oil Spills on Leather
When it comes to cleaning oil spills from leather, it is important to approach the task carefully. Leather is a delicate material, and improper cleaning methods can cause lasting damage or discoloration. To ensure your leather goods are preserved and restored properly, there are several things you should avoid during the cleaning process.
Avoid Using Excess Water
- Stiffening or warping of the material.
- Potential mold growth if not dried thoroughly.
- Instead, use a damp (not wet) cloth when wiping off stains. Keep moisture exposure minimal.
Stay Away From Harsh Chemicals
- Strip the natural oils from leather.
- Cause discoloration or fading.
- Use products specifically formulated for leather care. Always check labels before applying a product to your item.
Do Not Rub Vigorously
- The surface of the leather to scuff or peel.
- Spread the oil stain further into the material.
- Instead, use gentle blotting motions with a clean microfiber cloth or sponge.
Avoid Heat Exposure
- Many people mistakenly try to “dry out” oil stains by using heat sources like hair dryers or placing items near radiators.
- Make the stain set deeper into the fibers of the leather.
- Dry out and crack the material over time.
- Let leather dry naturally at room temperature after any cleaning efforts.
Steer Clear of Unknown Home Remedies
Despite recommendations found online, certain DIY remedies may do more harm than good. Some common household substances to avoid include: | Substance | Why You Should Avoid It | |——————|———————————————–| | Baking Soda | Can dry out and weaken leather over time. | | Vinegar | Acidic nature may damage protective finishes. | | Alcohol | Can strip oils essential for flexible leather.
If you decide to try any home remedy, test it on a small hidden area first to ensure it won’t damage your item.
Do Not Skip Conditioning After Cleaning
Once an oil spill has been addressed, skipping proper conditioning is a mistake that could lead to brittle and cracked leather. Cleaning often removes natural oils from the surface; conditioning helps restore flexibility and shine while protecting against future stains.
Summary Checklist of What To Avoid
To protect your leather goods while removing oil stains:
– Limit water usage and avoid soaking.
– Stick with products designed for leather care—no harsh chemicals like bleach.
– Use gentle motions—avoid scrubbing aggressively.
– Keep away from heat sources during drying stages.
– Be cautious with DIY remedies unless tested in an inconspicuous spot first.
By avoiding these common pitfalls, you’ll reduce risks associated with improper cleaning techniques while ensuring your prized leather goods remain in excellent condition for years to come.
How to Prevent Future Stains on Leather
Keeping your leather goods in pristine condition involves not only cleaning existing stains but also taking proactive measures to prevent future ones. Leather, being a natural material, requires care and attention to maintain its durability and aesthetic appeal. Below are some practical strategies to protect your leather items from oil stains and other forms of damage.
Regularly applying a leather protector creates a barrier that minimizes the absorption of oil, grease, and other substances into the leather surface. Look for high-quality, specialized products designed for your specific type of leather.
- Creams or sprays: Choose protectors suitable for items such as furniture, bags, shoes, or jackets.
- Application frequency: Apply once every few months or as recommended by the product maker.
- Natural alternatives: Some people opt for natural waxes like beeswax as a protective layer.
Proper storage plays a key role in preventing exposure to accidental spills or environmental factors that contribute to staining.
- Always store leather goods in cool, dry areas away from direct sunlight.
- Use dust bags for handbags and shoes.
- Avoid plastic covers that may trap moisture and lead to mildew.
| Storage Tips | Benefits |
| Store away from heat sources | Prevents drying/cracking |
| Use breathable fabric covers | Maintains airflow |
| Keep upright (for bags/shoes) | Preserves shape |
Natural oils from our skin can transfer onto leather over time, leading to gradual discoloration or stains.
- Wash your hands before touching light-colored leathers.
- Avoid using lotions or creams right before handling items like handbags or furniture.
- Designate specific spaces for eating or drinking; avoid using these near leather furniture.
- Avoid placing oily foods directly on surfaces like car seats or sofas.
- Carry travel pouches for cosmetics so they don’t spill inside handbags.
Quick action is critical in addressing potential spills before they set into the material.
Recommended Kit Items: – Microfiber cloths – A small bottle of saddle soap – Leather-safe wipes – White chalk powder (to absorb fresh oil spills)
- Use dehumidifiers in humid climates where moisture poses risks of mold development.
- Avoid prolonged exposure to direct heat sources like radiators, which can dry out oils essential for maintaining softness in the material.
By incorporating these preventative measures into your routine care regimen, you’ll not only minimize future stains but also extend the lifespan of your cherished leather goods while maintaining their original charm over time.
An Easy Guide to Removing Oil Stains from Suede Leather
Suede leather is a delicate and luxurious material that requires special care, especially when dealing with oil stains. Unlike regular leather, suede has a napped finish that can make cleaning more challenging. However, with the right approach and tools, you can effectively remove oil stains without damaging the texture or appearance of your suede leather items. Here’s an easy-to-follow guide tailored specifically for removing oil stains from suede leather.
Step 1: Act Quickly
Time is critical when dealing with oil stains on suede. The longer the stain sits on the surface, the harder it becomes to remove as the oil seeps deeper into the fibers.
- Blot immediately: Use a clean, dry microfiber cloth or paper towel to blot as much of the oil as possible. Avoid rubbing, as this can spread the stain further.
- Apply cornstarch or baking sodaLet it sit for at least 30 minutes—longer if possible—for maximum absorption.
Step 2: Brush Off Excess
- Gently brush off the powder using a soft-bristled suede brush or toothbrush.
- Use light strokes in one direction rather than scrubbing harshly to avoid damaging the nap.
Step 3: Treat Stubborn Stains
| Product | How to Use |
| Suede Cleaner | Apply according to instructions using a soft cloth or brush. |
| White Vinegar | Dampen a cloth with white vinegar and gently dab at the stain. |
| Talcum Powder | Similar to cornstarch; leave overnight for better absorption. |
After treatment, use your suede brush again to restore texture and remove any residue.
Step 4: Revive Suede’s Texture
- Lightly brushing with a suede brush in circular motions.
- Using an eraser specifically designed for suede (optional) on small discolorations left behind.
Things You Should Avoid
- Don’t soak in water:Suede is highly sensitive to water and may lose its texture if saturated.
- Avoid heat sources:Using hair dryers or placing items in direct sunlight may cause shrinkage or discoloration.
- No harsh chemicals:Regular detergents and cleaners not formulated for suede will likely harm it.
Preventative Measures for Next Time
- Spray them with a high-quality water and stain repellent made specifically for suede.
- Store them in cool, dry areas away from moisture-prone environments like bathrooms.
By following this guide and adopting preventative measures, you’ll keep your delicate suede accessories looking pristine while addressing mishaps swiftly and effectively.